|
|
本文章最後由 antlu 於 2019-4-17 09:53 PM 編輯
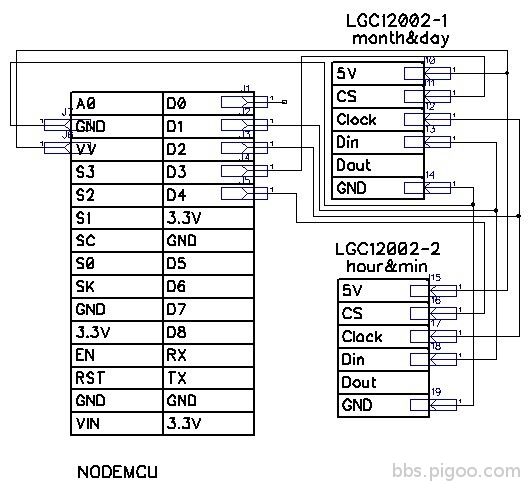
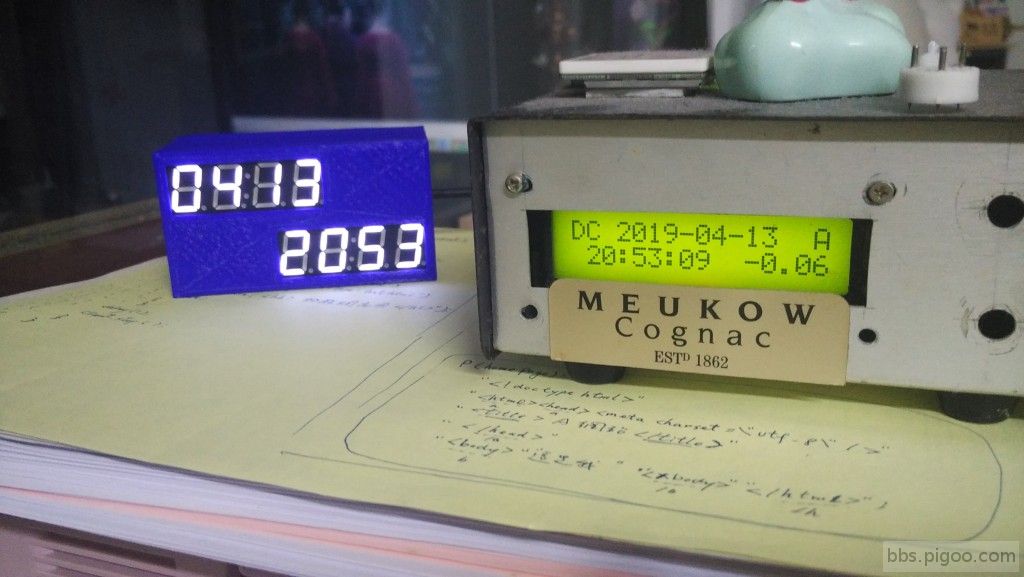
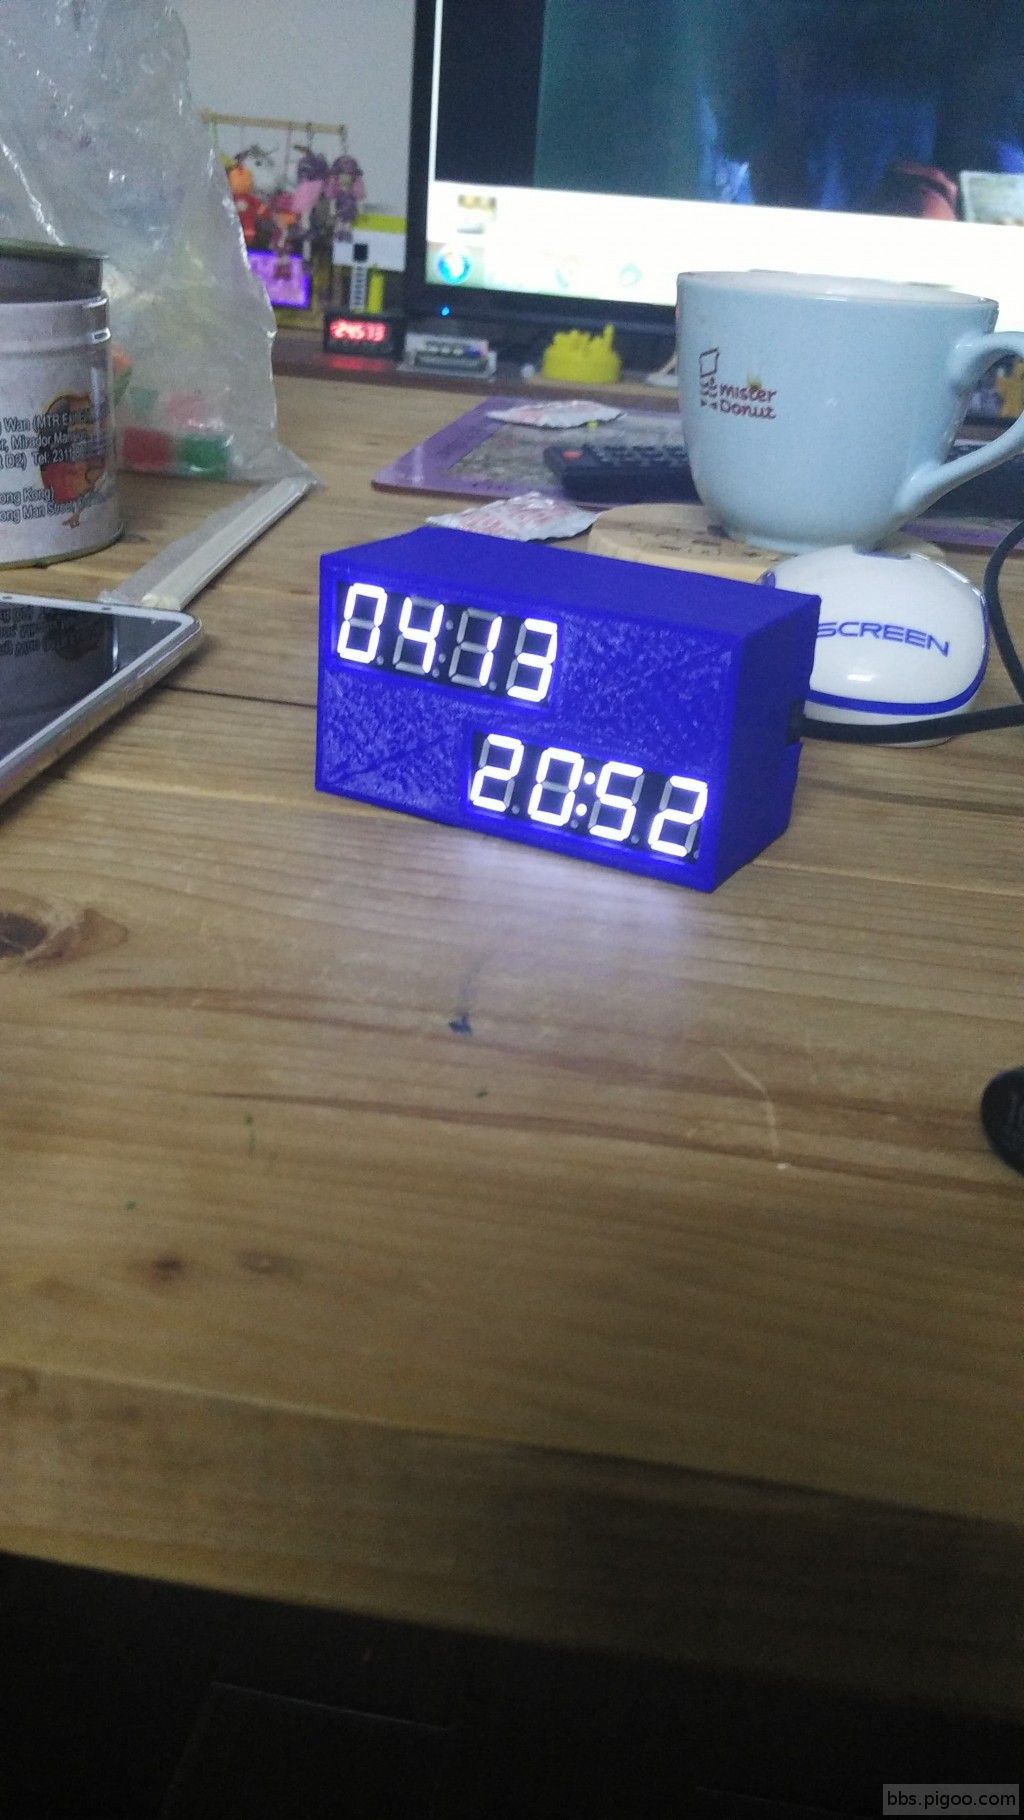
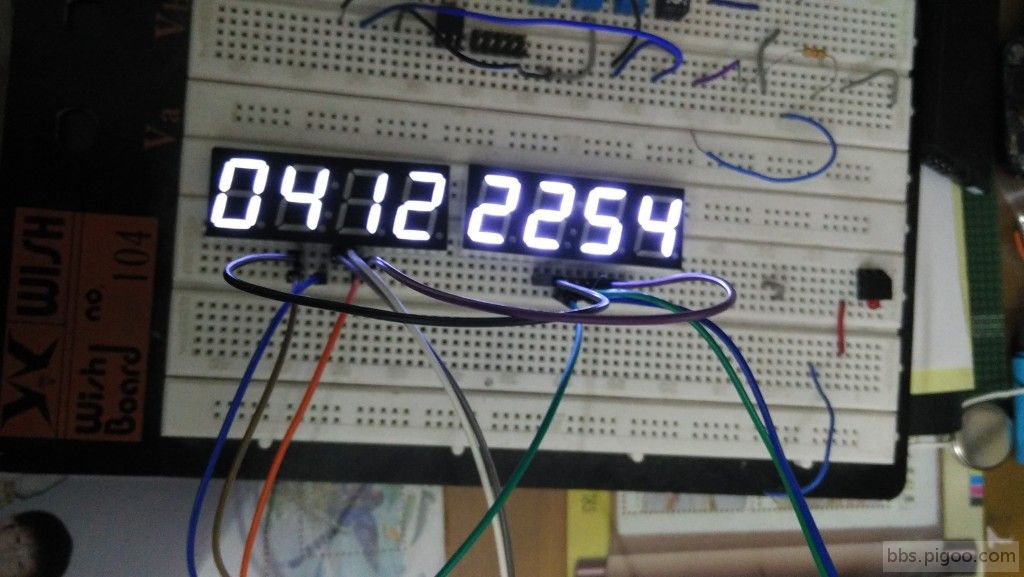
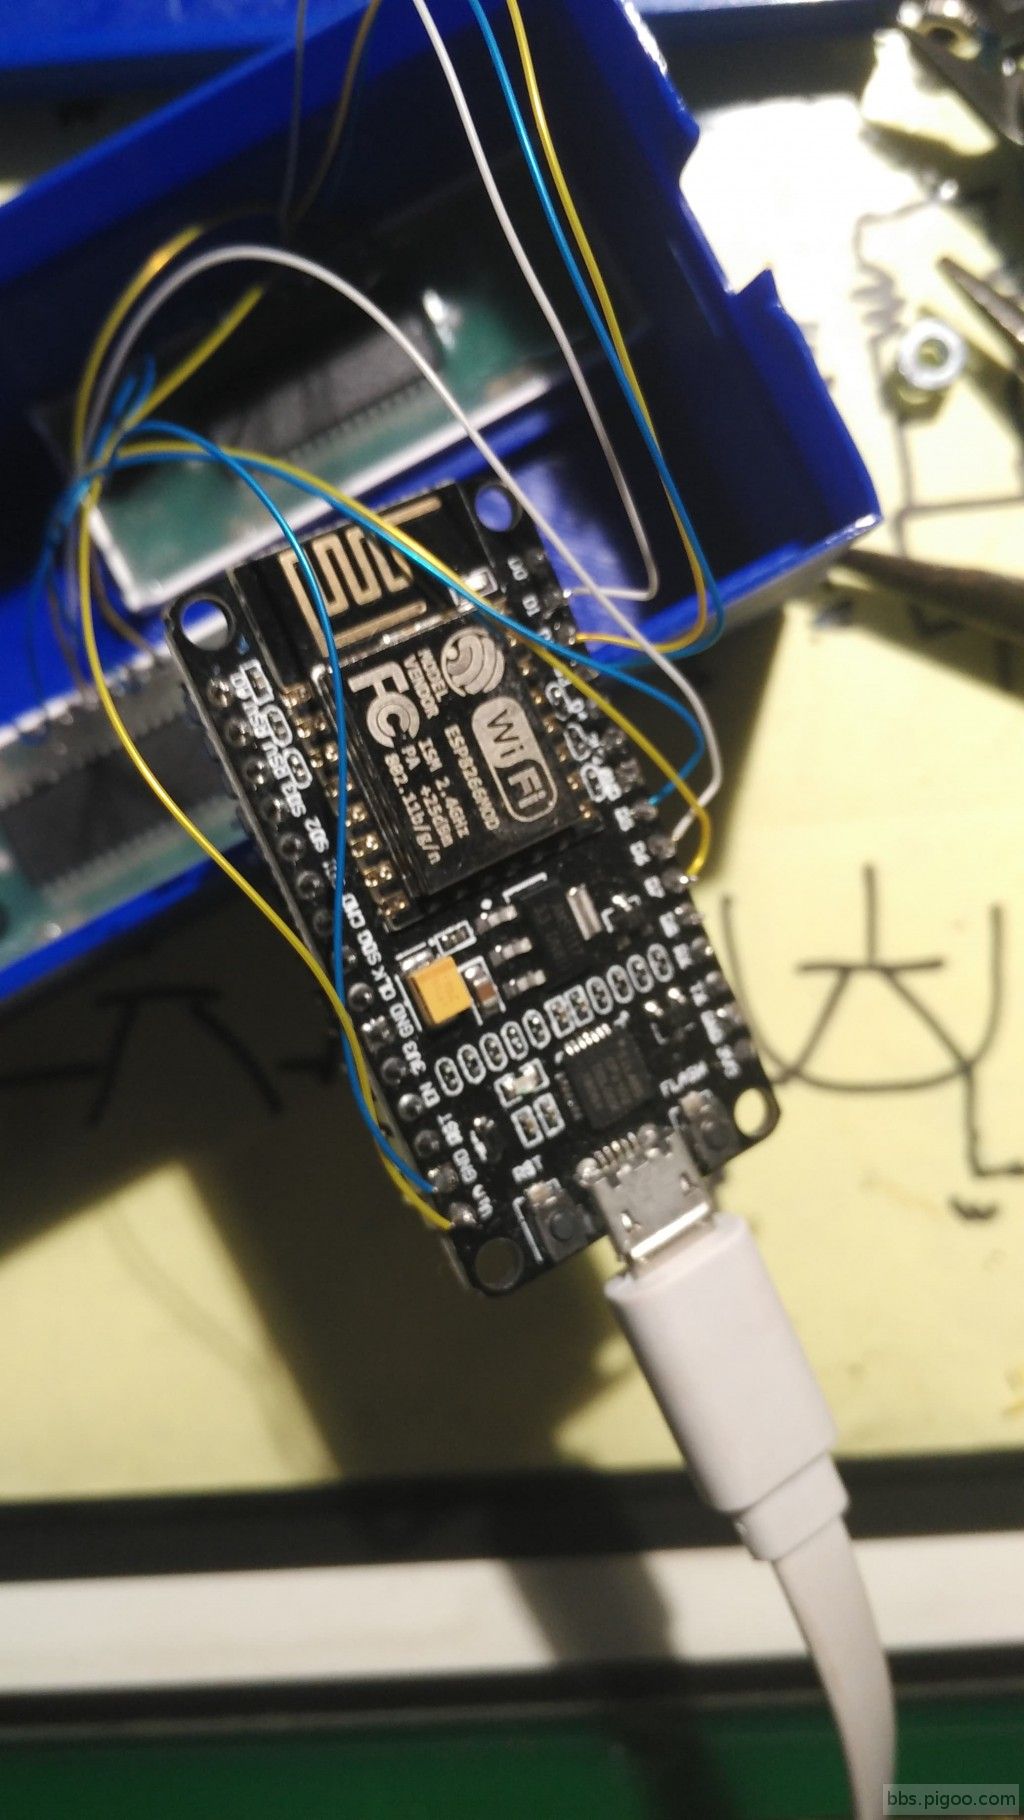
這是一個非常簡單的電路,一共只有三個零件組,LGC12002 兩個,NODMCU一個 !!
NODEMCU 網路搜尋一下,一大堆應用,價格 露天拍賣 約120元台幣,他透過家裡的網路分享器向相關網路校時的公司,提出時間需求,這一段資料我是從相關的網站之中COPY下來的,原創是用來驅動 LCM 搭配 溫溼度模組 DHT11來顯示時間溫度溼度,由程式裡面36000秒提出校時一次.希望大家喜歡!!
程式:
- //20190414 modify for cs pin control
- //201904120 clock from internet & display 2 PT6961
- #include <ESP8266WiFi.h>
- #include <WiFiUdp.h>
- #include <TimeLib.h>
- #include <PT6961.h>
- #include <DNSServer.h> //20190416
- #include <ESP8266WebServer.h> //20190416
- #include <WiFiManager.h>//20190416
- WiFiManager wifiManager;//20190416
- const int DIN1 =5;//d1
- const int CLK1 = 4;//d2
- const int CS1 = 0;//d3
- const int DIN = 5;//d1
- const int CLK = 4;//d2
- const int CS = 2; //d4
- PT6961 SEG7(DIN,CLK,CS);
- PT6961 SEG8(DIN1,CLK1,CS1);
- boolean colon=false;
- char hrmn_Array[4];
- char mondy_Array[4];
- const char* ntpServerName = "us.pool.ntp.org";
- const int timeZone = 8;
- const int BUTTON_PIN = D4;
- WiFiUDP Udp;
- int localPort = 8888;
- unsigned long PreviousClick = 0;
- unsigned long PreviousDisplay = 0;
- void setup() {
- wifiManager.autoConnect("antlu");
- SEG8.initDisplay();
- SEG7.initDisplay();
- SEG7.sendCmd(0x88);//bright 1/16
- SEG8.sendCmd(0x88);//bright 4/16
- // PT6961初始化
- Serial.begin(9600);
- // WiFi.begin(ssid,password);
- int pointcount = 0;
- while(WiFi.status() != WL_CONNECTED)
- {
- delay(500);
- if(pointcount >= 16)
- {
- Serial.println("over 16");
- pointcount = 0;
- }
- Serial.print(".");
- pointcount ++;
- }
- Serial.print("IP number assigned by DHCP is ");
- Serial.println(WiFi.localIP());
- Serial.println("Starting UDP");
- Udp.begin(localPort);
- Serial.print("Local port: ");
- Serial.println(Udp.localPort());
- Serial.println("waiting for sync");
- setSyncProvider(getNtpTime); // set the external time provider
- setSyncInterval(36000); // set the number of seconds between re-sync
- // attachInterrupt(digitalPinToInterrupt(BUTTON_PIN), IntCallback, RISING);//interrupt routine
- }
- void loop() {
- unsigned long MillisTemp = millis();
- if ((MillisTemp - PreviousDisplay) > 800)
- { // Refresh screen every 800 milliseconds
- // DisplayType2();
- DisplayType3();
- colon=!colon;
- Serial.println("------> ");
- PreviousDisplay = MillisTemp;
- }
- }
- void IntCallback(){
- unsigned long MillisTemp = millis();
- if ((MillisTemp - PreviousClick) > 300) { // Debouncing
- Serial.println("Button Click");
- PreviousClick = MillisTemp;
- }
- }
- void DisplayType2()
- {
- // Print YEAR-MONTH-DAY
- Serial.print(year());
- Serial.print("-");
- Serial.print(month());
- Serial.print("-");
- Serial.println(day());
- Serial.print(hour());
- Serial.print("-");
- Serial.print(minute());
- Serial.print("-");
- Serial.println(second());
- //
- // Print HOUR:MIN:SEC WEEK
- //
- }
- void DisplayType3()
- {
- int mon_dy1 = month_day_conv();
- int hr_mn1 = hour_minute_conv();
- SEG7.sendNum(mon_dy1,0);
- SEG8.sendNum(hr_mn1,colon);
- delay(10);
- }
- int hour_minute_conv(void)
- {
- int hr = 100 * hour();
- int mn = minute();
- int hr_mn = (hr+mn);
- Serial.print("hr_mn = ");
- Serial.println(hr_mn);
- return hr_mn;
- }
- int month_day_conv(void)
- {
- int mon = 100 * month();
- int dy = day();
- int mon_dy = mon+dy;
- Serial.print("mon_dy = ");
- Serial.println(mon_dy);
- return mon_dy;
- }
- const int NTP_PACKET_SIZE = 48; // NTP time is in the first 48 bytes of message
- byte packetBuffer[NTP_PACKET_SIZE]; //buffer to hold incoming & outgoing packets
- time_t getNtpTime()
- {
- IPAddress ntpServerIP; // NTP server's ip address
- for (int i = 0; i < 6; i++) { // Retry 6 times if "No NTP Response"
- while (Udp.parsePacket() > 0) ; // discard any previously received packets
- Serial.println("Transmit NTP Request");
- // get a random server from the pool
- WiFi.hostByName(ntpServerName, ntpServerIP);
- Serial.print(ntpServerName);
- Serial.print(": ");
- Serial.println(ntpServerIP);
- sendNTPpacket(ntpServerIP);
- uint32_t beginWait = millis();
- while (millis() - beginWait < 1500) {
- int size = Udp.parsePacket();
- if (size >= NTP_PACKET_SIZE) {
- Serial.println("Receive NTP Response");
- Udp.read(packetBuffer, NTP_PACKET_SIZE); // read packet into the buffer
- unsigned long secsSince1900;
- // convert four bytes starting at location 40 to a long integer
- secsSince1900 = (unsigned long)packetBuffer[40] << 24;
- secsSince1900 |= (unsigned long)packetBuffer[41] << 16;
- secsSince1900 |= (unsigned long)packetBuffer[42] << 8;
- secsSince1900 |= (unsigned long)packetBuffer[43];
- return secsSince1900 - 2208988800UL + timeZone * SECS_PER_HOUR;
- }
- }
- Serial.println("No NTP Response :-(");
- delay(500);
- }
- return 0; // return 0 if unable to get the time
- }
- // send an NTP request to the time server at the given address
- void sendNTPpacket(IPAddress &address)
- {
- // set all bytes in the buffer to 0
- memset(packetBuffer, 0, NTP_PACKET_SIZE);
- // Initialize values needed to form NTP request
- // (see URL above for details on the packets)
- packetBuffer[0] = 0b11100011; // LI, Version, Mode
- packetBuffer[1] = 0; // Stratum, or type of clock
- packetBuffer[2] = 6; // Polling Interval
- packetBuffer[3] = 0xEC; // Peer Clock Precision
- // 8 bytes of zero for Root Delay & Root Dispersion
- packetBuffer[12] = 49;
- packetBuffer[13] = 0x4E;
- packetBuffer[14] = 49;
- packetBuffer[15] = 52;
- // all NTP fields have been given values, now
- // you can send a packet requesting a timestamp:
- Udp.beginPacket(address, 123); //NTP requests are to port 123
- Udp.write(packetBuffer, NTP_PACKET_SIZE);
- Udp.endPacket();
- }
摘路自 臉書粉絲團 Arduino Taipei
感謝 BEN CHENG 大提供的相關資料以及不斷的指導終於達到我的需求,當然也感謝許多同好的建議,甚至,遠在美國的丹丘大也提供寶貴意見... 首先我把問題的解決方法說明(因為我先前看過別人的資料但是不太懂),
1.先把 #include <DNSServer.h> //20190416
#include <ESP8266WebServer.h> //20190416
#include <WiFiManager.h>//20190416
WiFiManager wifiManager;//20190416 定義放到程式的頂端也就是 setup()之前.
2. 把 wifiManager.autoConnect("antlu"); 放在 setup()之內,這個作用就是 當你的作品移到"新的網路點"(先前的設定SSID PASSWORD 收不到的地方)上面時,你可以使用手機去搜尋到一個叫"antlu"的網路點.
3.把以前程式的指定 SSID 和 PASSWORD 去掉,沒有去掉會造成編譯錯誤喔!!
4.程式上傳完成 (可以比較我的先前程式差異.)
5.送電之後 時鐘不會顯示,原因是 程式要上網去抓取時間,但是WIFI 無法上網所以當然沒辦法走下去,其實這時候他正在等待設定...
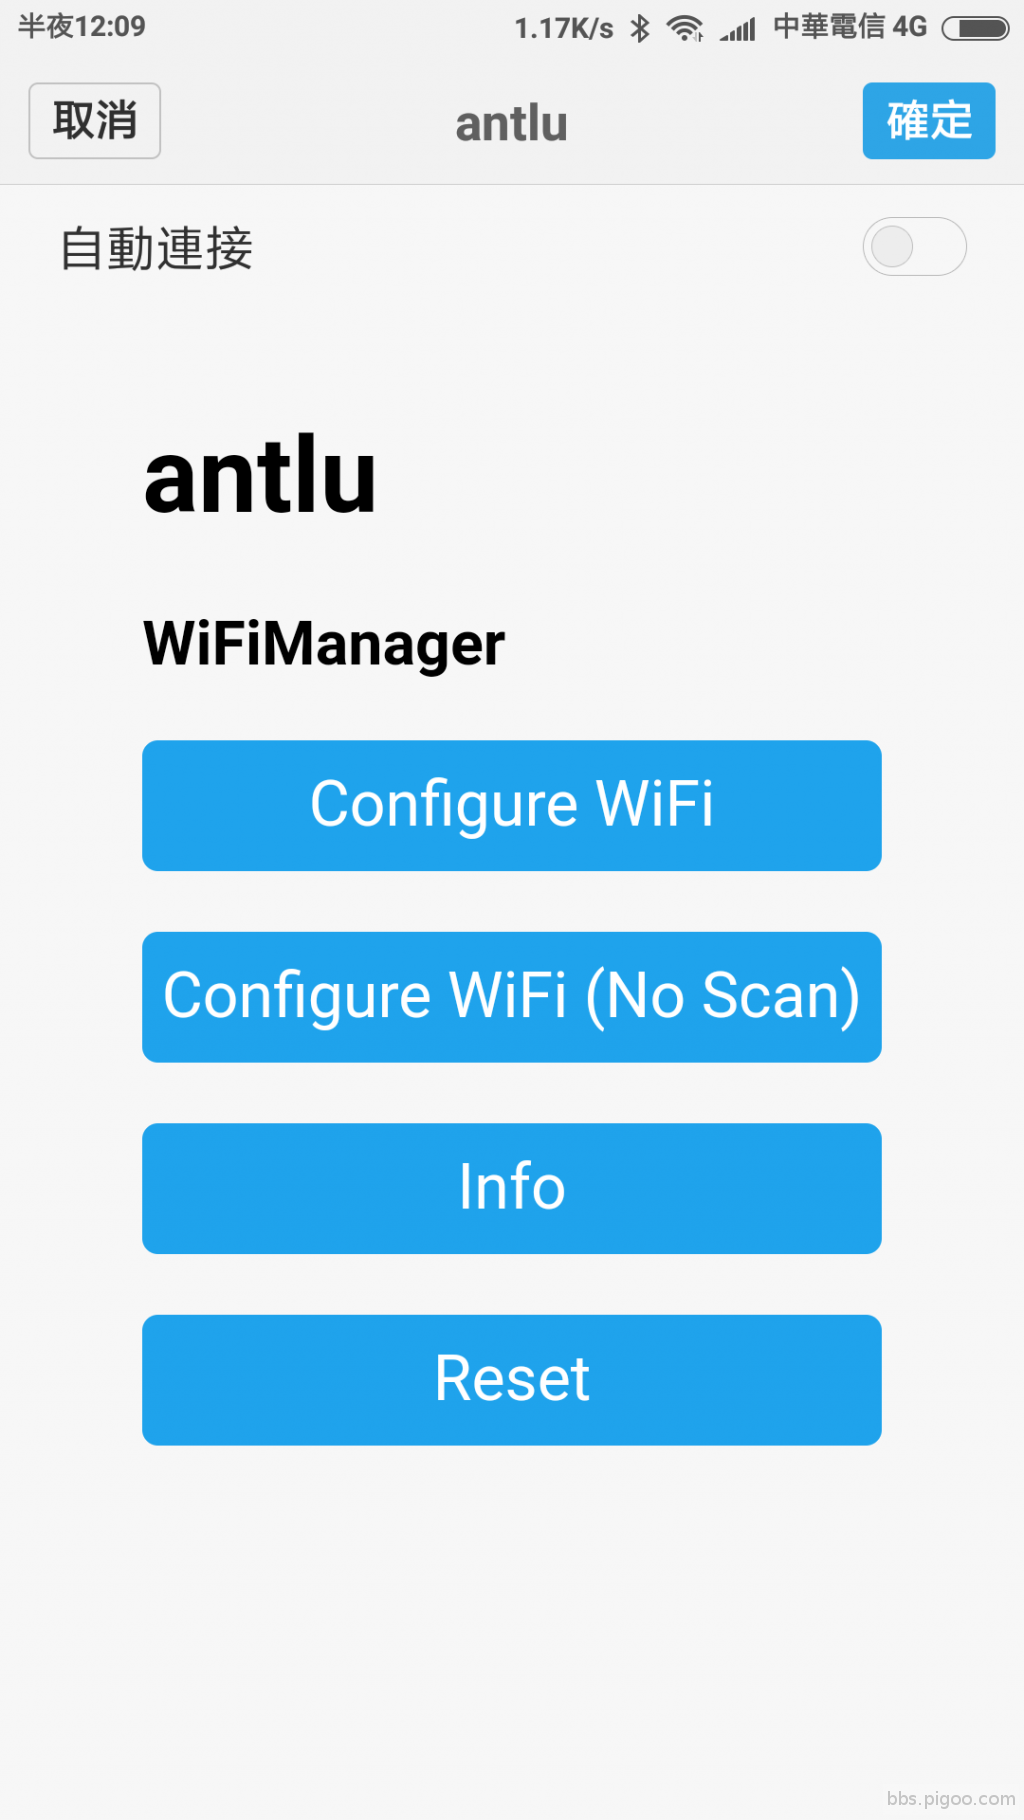
6.使用 手機的找尋無線網路功能,找到 antlu 這個網點,經過一陣子之後就會顯示 照片1 的畫面.
7. 選擇第一項 configure WiFi 進入照片2 的畫面.
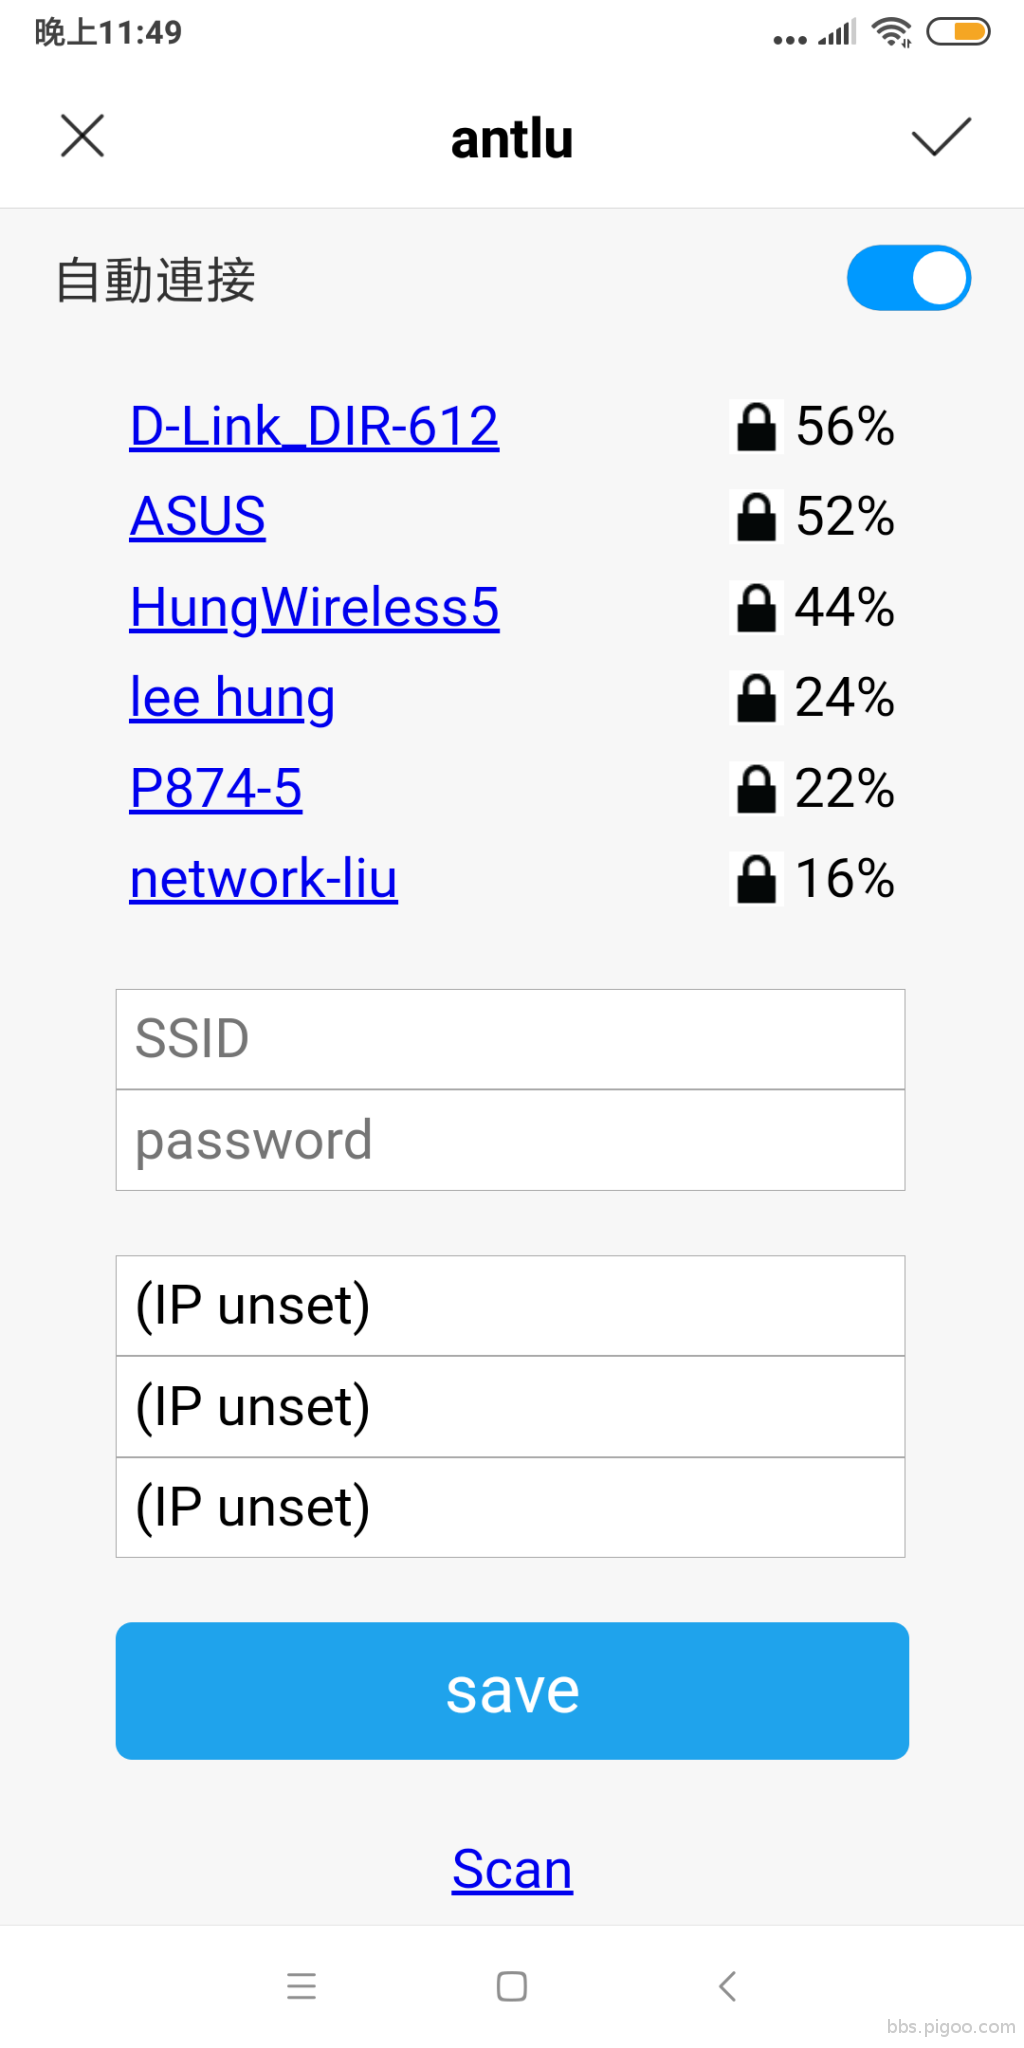
8. 在畫面上就有許多 網點可以讓你選擇,選取你可以有密碼的網點,然後輸入密碼,記得按下 SAVE !
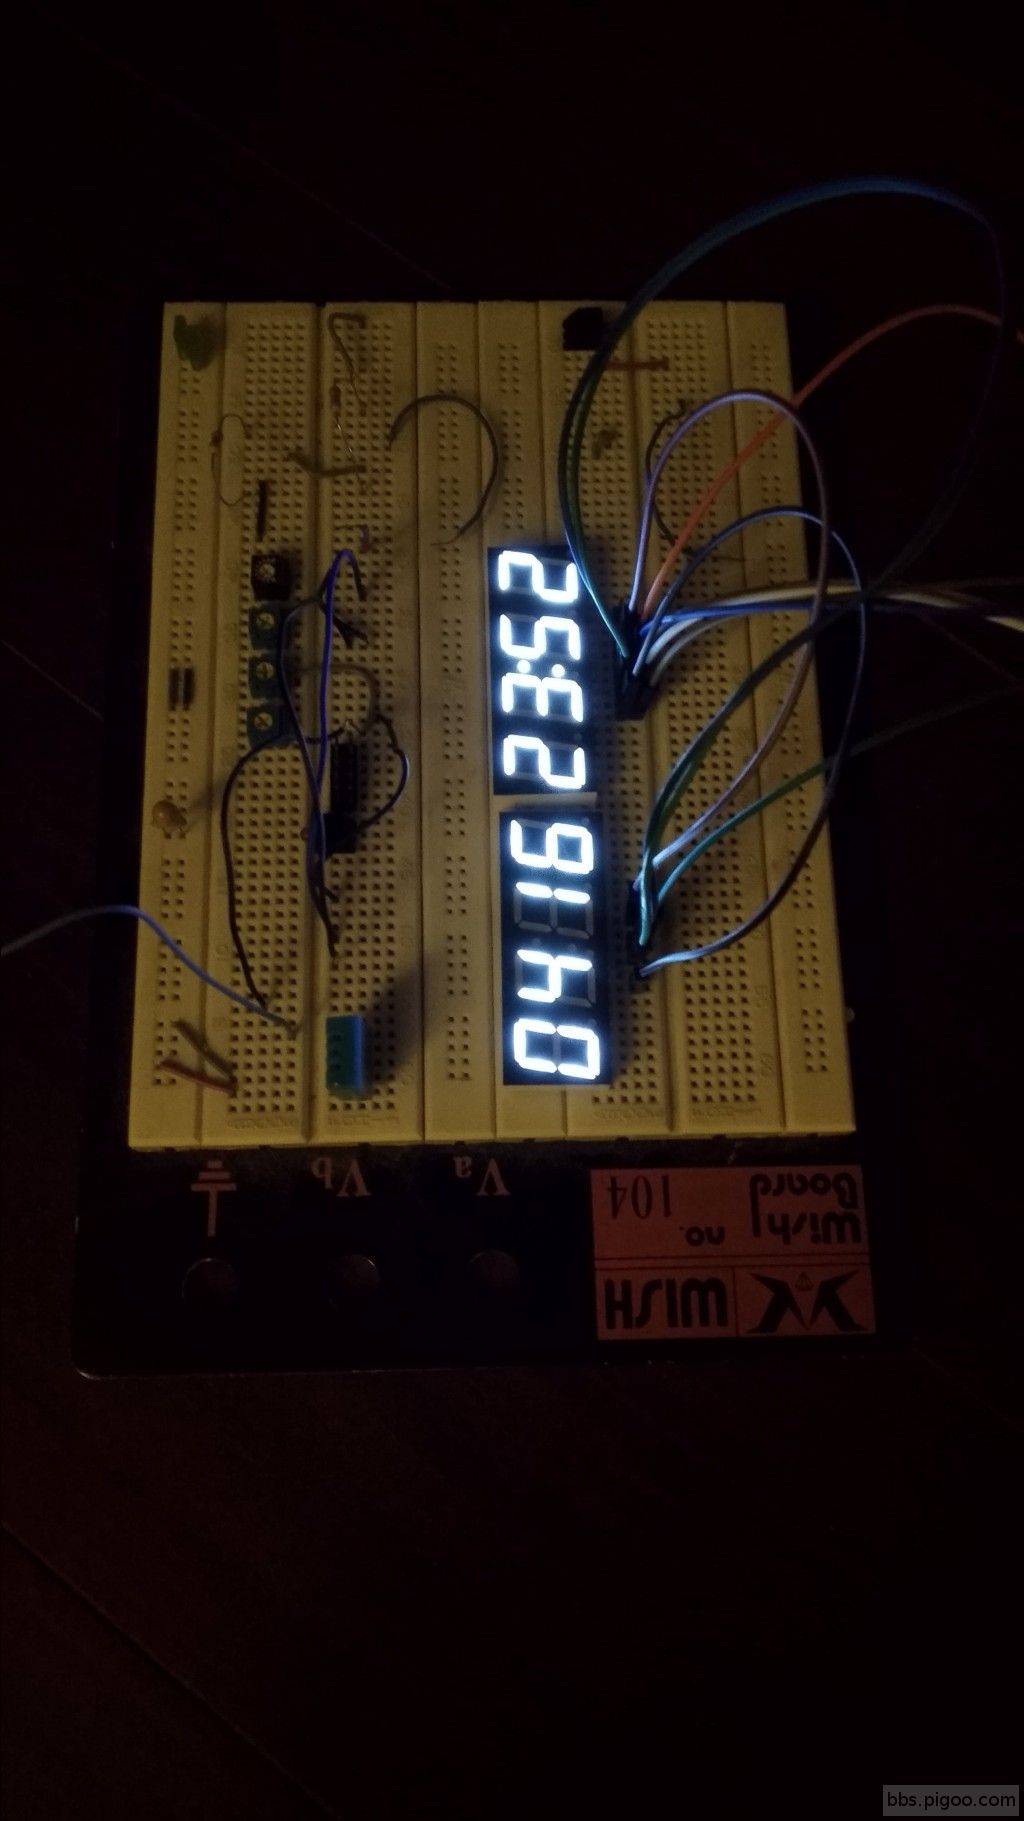
9. 這時候會跳出 照片3 的畫面.

10.沒多久之後 時鐘會顯示了 照片4 ,也就是成功了!!
心得: WiFiManager 功能太強了! 因為習慣領域的關係,我一值把它想的非常複雜,其實,真的很簡單,這是我對網路 和 無線網路的知識極其缺乏的原因... 再次感謝 BEN CHENG 大,別忘了給我訊息 我要把 LGC12002 寄給你!!
新程式內容: https://www.pastiebin.com/5cb68def95419
線路圖:
成品:
過程:
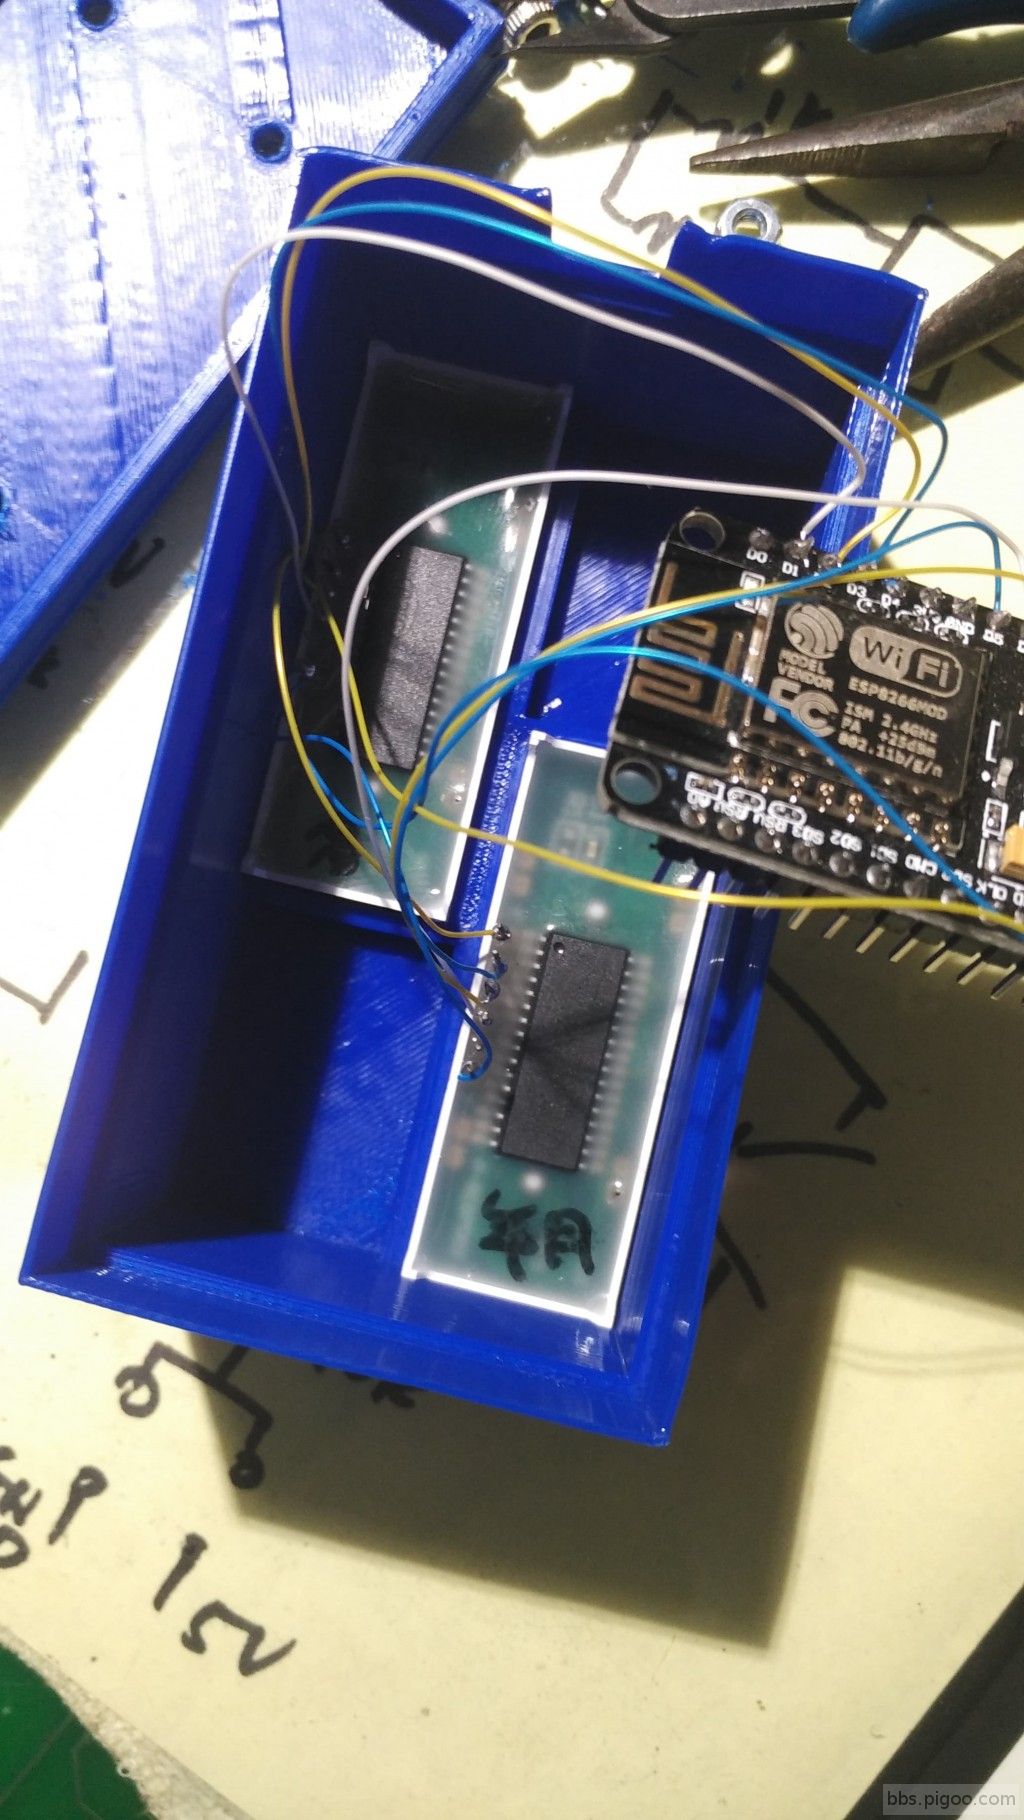
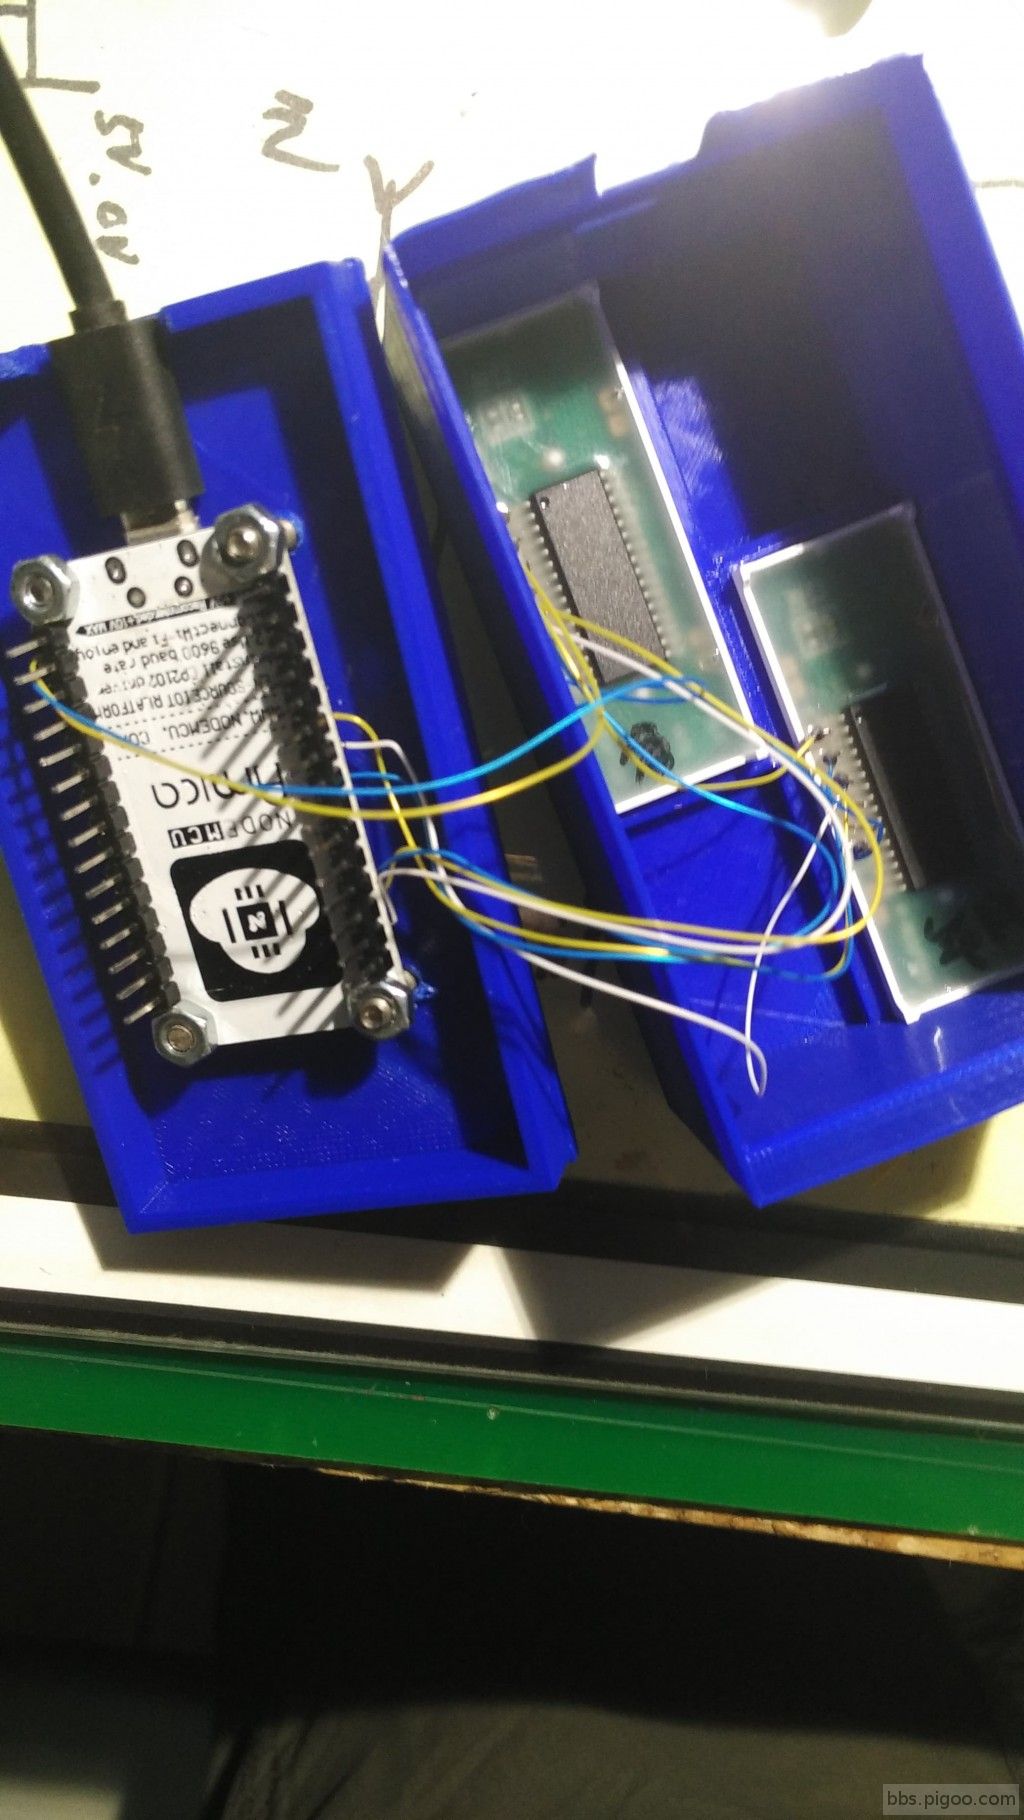
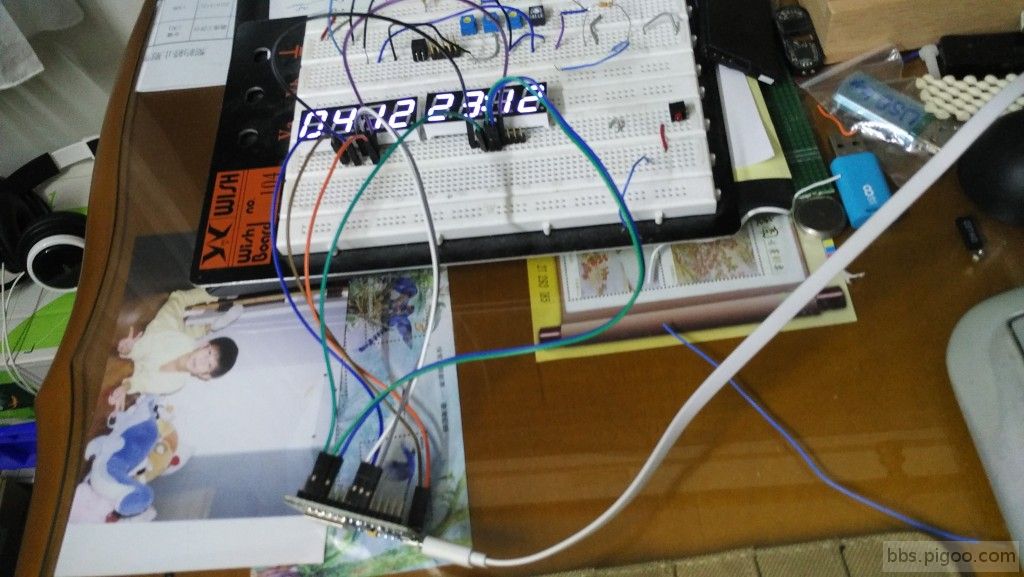
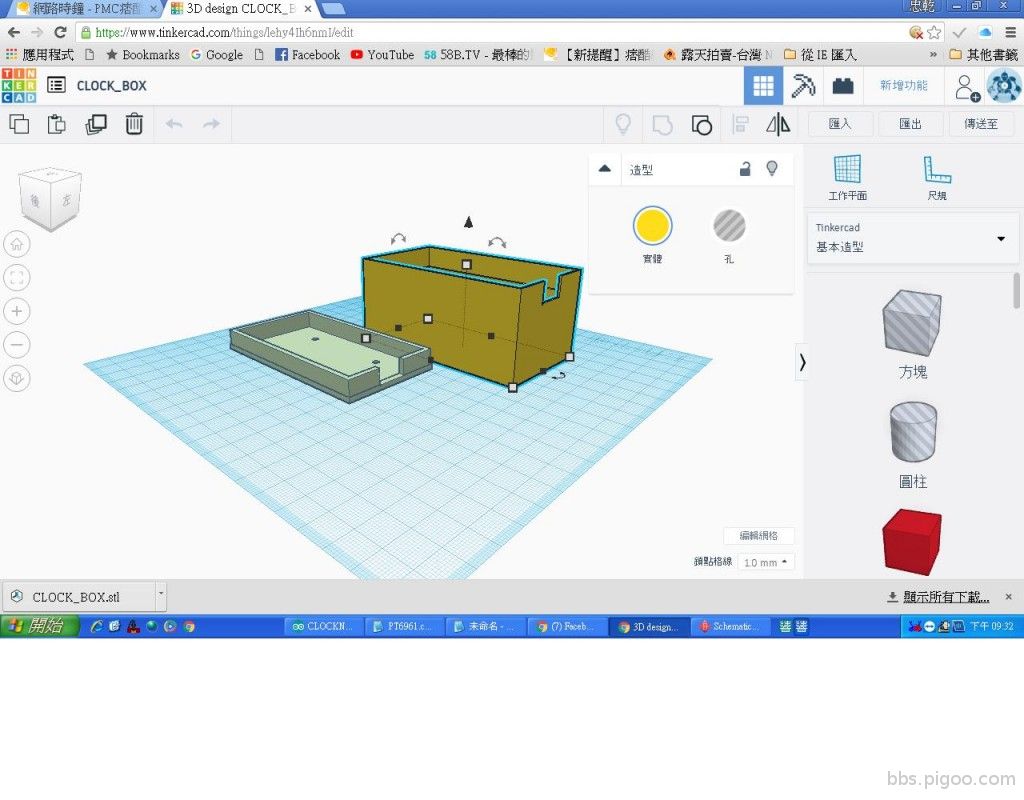
盒子製作:
|
評分
-
22
查看全部評分
-
|